How can I see what a new floor will look like in my house?
Use three checks together, because each one catches what the others miss. First, put the floor into a photo of your actual room with a visualizer. A photo-based one, such as Flooring Local's free visualizer, edits your own picture so you judge the colour and plank scale against your walls, cabinets and light. Second, bring home the largest samples you can get, ideally three or four full-length planks rather than a 7-inch chip. Look at them on the floor in morning daylight, in evening lamplight and on a grey winter afternoon. Third, see the product installed somewhere, in a showroom vignette or a recent job, because a whole floor shows plank variation and pattern repeats that no sample can. Decide only when all three agree. If the photo and the planks disagree, trust the planks in your own light.

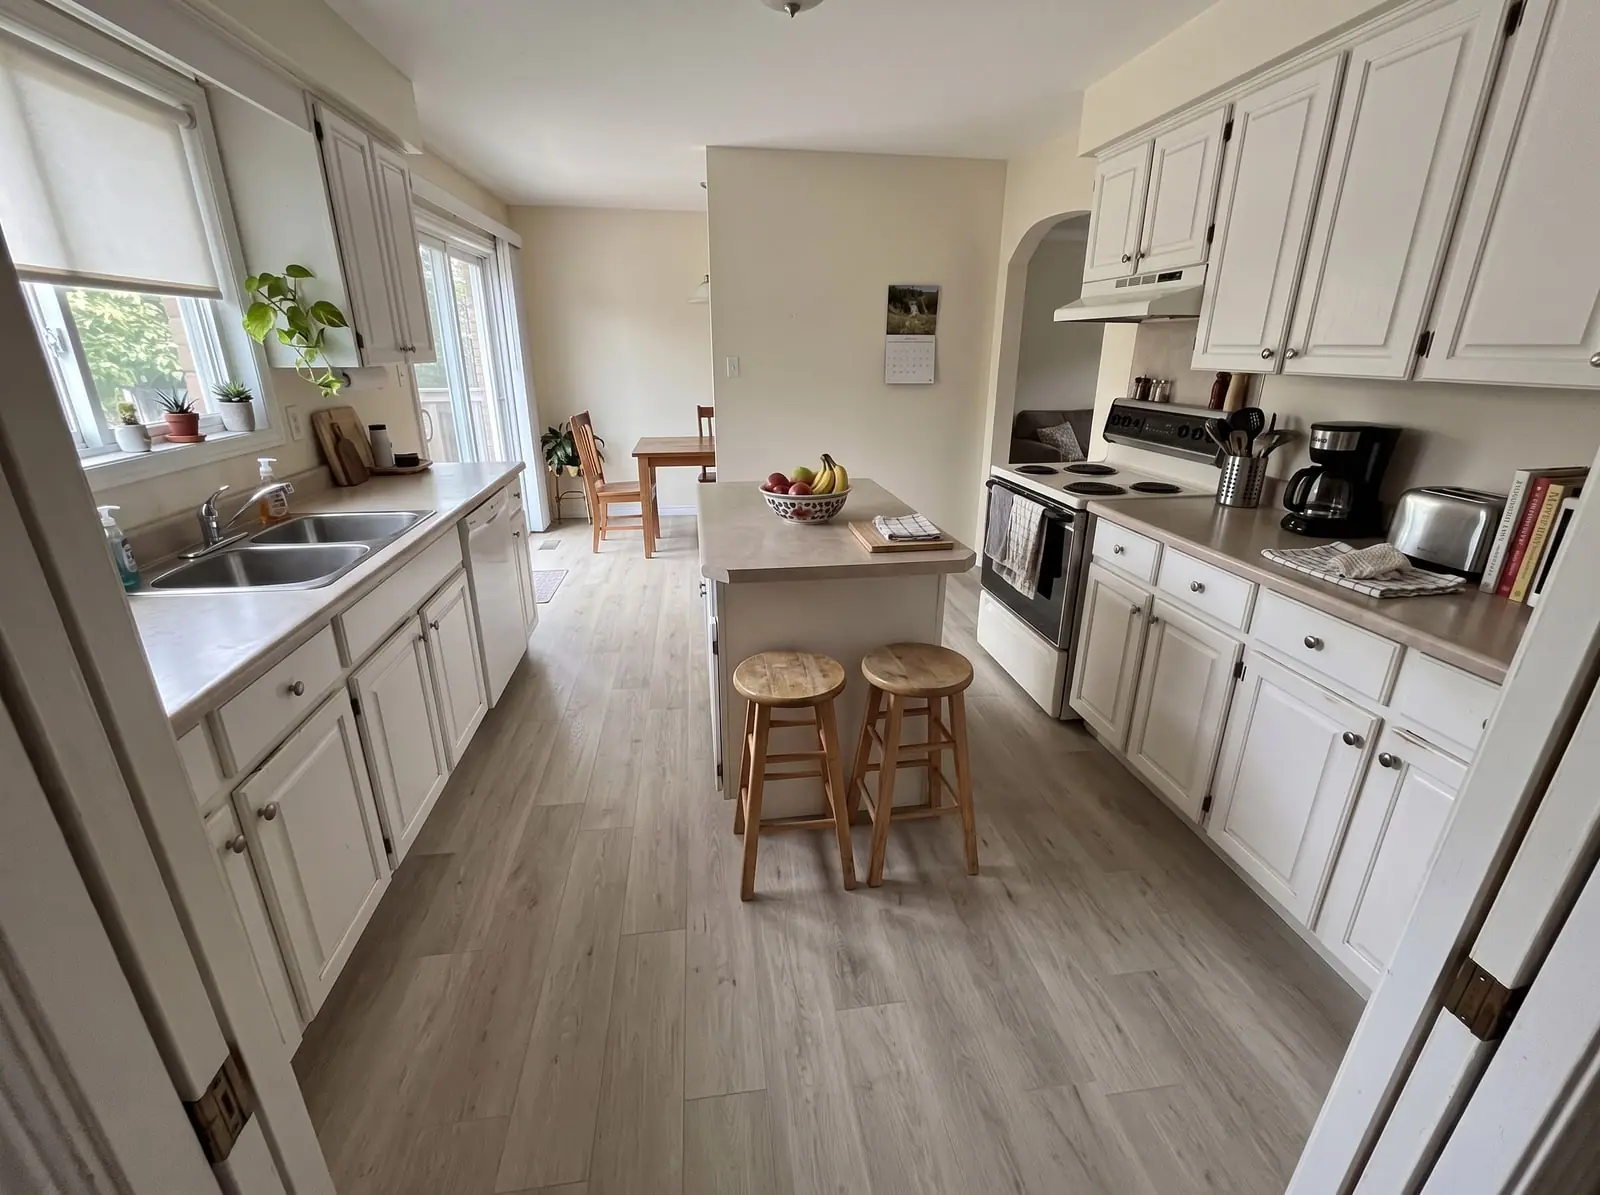
Why a floor never looks the way it did in the store
Almost everyone who has chosen a floor has had the same experience: the sample looked perfect under the showroom lights and wrong at home. There are four reasons, and none of them is your eye.
- Light colour. Stores light their floors with bright, neutral-to-cool LEDs around 3500–5000K. Most Canadian homes run 2700–3000K warm bulbs in the evening, which push every floor toward yellow and orange. A greige that looked balanced in the store can read beige at night and grey on an overcast January afternoon.
- Winter daylight. At noon on the winter solstice the sun sits about 23° above the horizon in Toronto, 17° in Vancouver and only 13° in Edmonton. For months, rooms get low, bluish, indirect light, and north-facing rooms get almost none. A floor chosen in a July showroom has to live in that light for half the year.
- Size. A colour covering a whole room reads lighter and more saturated than the same colour on a small chip. A warm oak that looks gently golden in a 7-inch sample can look distinctly orange across 400 square feet.
- Surroundings. Walls, cabinets and trim reflect colour onto the floor and change how you read it. A floor that sits well beside white showroom walls can fight with honey oak trim or cool grey paint.
Method 1: put the floor into a photo of your room
This is the fastest way to rule floors in or out, and the only one that shows the whole room at once. There are two kinds of visualizer, and they suit different jobs:
- Overlay visualizers are the ones most flooring retailers and brands offer for their own catalogue. They detect the floor in your photo and lay a product texture over it. They are instant and let you flick through hundreds of products, but the result can look pasted on: rugs, furniture legs and perspective often trip them up, and the lighting is the texture's, not your room's.
- AI photo editing, which is how our visualizer works, redraws the floor inside your photo. It matches your room's perspective, light and shadows, keeps rugs and furniture legs sitting on the new floor, and changes nothing else. It takes about a minute rather than a second, and you choose from a curated set of 16 popular floors rather than a full catalogue.
Use an overlay tool to browse widely, and an AI edit to judge your two or three finalists realistically. Either way, the photo matters more than the tool:
- Shoot in daylight with the lights on, from the doorway, holding the phone at chest height and level.
- Aim slightly down so the floor fills the lower half of the frame.
- Use the normal 1× lens, not the 0.5× ultra-wide, which stretches the floor and distorts plank widths.
- Leave the furniture in place. Seeing the floor against your actual sofa and cabinets is the point.
Judge the result on relationships: does the floor sit lighter or darker than the cabinets, warmer or cooler than the trim, busier or calmer than the rug? Don't judge exact colour, because every phone screen shows colour slightly differently.
Method 2: test samples the right way
Samples are still how you confirm a floor. Most people just test them badly: one small chip, looked at once, kneeling down, next to nothing in particular. Instead:
- Get full planks, not chips. Ask the retailer or your installer for three or four full-length boards, or buy one box of your top choice. Check the return policy first, since opened boxes often carry a restocking fee.
- Lay them where the floor will actually be. Put them in the room's brightest and darkest spots, butted against the cabinet toe-kick, the stair nosing or the trim you're keeping.
- Look three times a day for two or three days: morning daylight, evening lamplight, and ideally a grey day. Stand up. You see floors from about 1.6 metres, not from your knees.
- Photograph them in place with the same phone at the same time of day, so you can compare finalists side by side without relying on memory.
- Compare two at a time. Five samples on the floor at once blur together. Pair them off and keep the winner.
Method 3: see it installed
A whole floor shows things no sample can: how much the planks vary, whether the printed pattern visibly repeats, how the sheen looks in raking light from a window, and whether the colour still works across a large area. Showroom vignettes help, but the best check is a real installation. Ask your installer for photos or addresses of recent jobs using the same product, and ask how many unique plank visuals a vinyl or laminate product has. Products with only a handful of different boards repeat noticeably in an open-concept main floor.
A routine that avoids regret
- Shortlist five to eight floors in a visualizer, in an evening.
- Cut to two or three and order full-plank samples of those only.
- Test them in your light over two or three days, as above.
- Re-check the winner against the whole room in a photo, especially if it's going through an open-concept main floor.
- See it installed somewhere, or ask for photos of a real job.
- Order 10% extra from the same production lot, so boxes delivered later don't differ in shade.
What no visualizer can tell you
A picture shows colour, tone, plank width and pattern. It can't show texture underfoot, how glossy the finish looks in direct sun, how loud the floor is to walk on, or whether it will stand up to your dog, your kids and a Canadian winter's worth of grit. Those come from the specification — wear layer, AC rating or hardness, core type — and from a physical sample in your hand. Use the visualizer to decide what you like, and the product sheet and your installer to decide whether it will last.
Common questions
01Can I change the floor in a photo for free?
Yes. Flooring Local's visualizer is free: upload a photo of your room, choose one of 16 popular floors, confirm your email and the AI re-floors your photo in about a minute. It's one visualization per person. Retailer visualizers are also free but only show that retailer's own products.
02Why do flooring samples look different at home?
Mainly because of light. Stores use bright, cool lighting, while homes use warm bulbs and, in a Canadian winter, get low, bluish daylight. A small sample also reads darker and less saturated than the same colour across a whole room, and your walls, cabinets and trim change how you perceive it.
03How many flooring samples should I get?
Two or three finalists, each as full-length planks rather than small chips. More than that makes comparison harder, not easier. Narrow the field in a visualizer first, then test the finalists in your own light over a couple of days.
04Is there a flooring visualizer for Canada?
Flooring Local's visualizer is built for Canadian homes. It offers the vinyl, laminate, hardwood, carpet, tile and cork colours Canadians buy most, and it connects you with a vetted local installer who can bring the real samples to your home.
05Do flooring visualizers work with phone photos?
Yes, a normal phone photo is ideal. Take it in daylight from the doorway at chest height, keep the phone level, use the standard lens rather than the ultra-wide, and make sure the floor fills at least the lower half of the frame.
Ask a local expert
Service areaAll of Canada — matched to an expert near you
HoursMonday – Friday · 8am – 6pm (local time)
Saturday · 9am – 4pm (local time)
Sunday · Closed · online requests 24/7
Related guides
How to choose a flooring colourLight or dark floors? How to chooseWhat flooring goes with oak cabinetsCan you change the colour of your floors?
Cost guides
Vinyl plank flooring cost in CanadaLaminate flooring cost in CanadaHardwood flooring cost in CanadaCarpet installation cost in CanadaTile flooring cost in Canada
The right floor changes how a room feels. The right installer changes how the whole project feels.Start a free quote